I know I’ve raved about homemade yogurt to you enough times that you’re probably sick of hearing about it, but I was prompted to do a follow up post by a friend who has been having her own adventures in the land of homemade stuff! I’m going to have to try some of Amy’s breads here pretty soon.
Anyway, here’s what I typically do with my yogurt after it’s made and completely cooled.
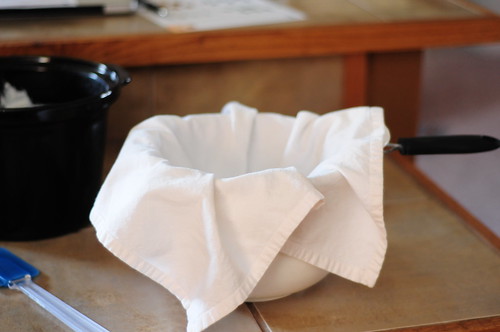
I prefer a little thicker yogurt, think Greek strained, so I bought the biggest mesh strainer that I could find at Wal-Mart. Then I just put it in a bowl (the only one I have that actually fits it, oops!)

and line it with a linen napkin. I used cheesecloth the first time, but it’s expensive and it won’t hold up, so if you want to stay on the frugal side, just find napkins or tea towels that won’t pill up and shed in your yogurt (eww) and use those.
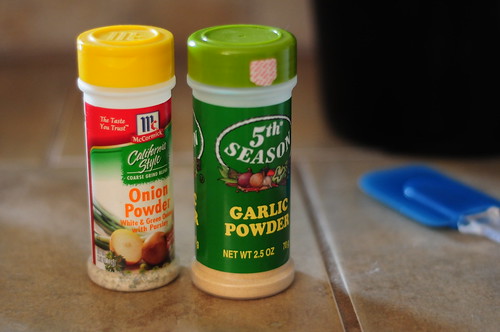
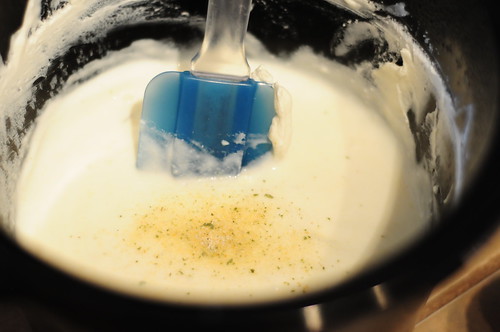
I have become a fan of plain yogurt because then you can flavor it however you want when it’s time to eat, but either way it all works the same. Today because I’m making yo-cheese (think cream cheese in your head) I’m going to add some garlic and onion powder to the yogurt before straining it.
You can use just about anything you want for flavor. Let your imagination run a little wild. Do you like honey and nuts on your bagel? Well, throw some in! Cinnamon, vanilla, Maple Syrup… you get the idea. 😉
Poor the flavored (or plain) yogurt into the lined strainer. A whole batch of yogurt will usually top off this strainer and look like it wants to spill. I had already used some of this batch, and I don’t typically make a whole batch of yo-cheese, though I do of greek yogurt.
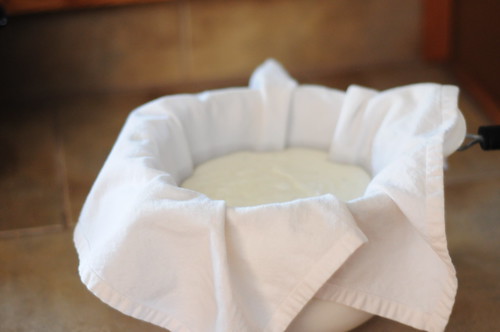
Fold the corners of the cloth over the yogurt.

And to speed things up, I put a plastic lid on top
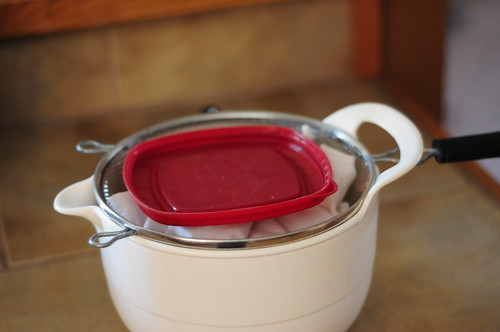
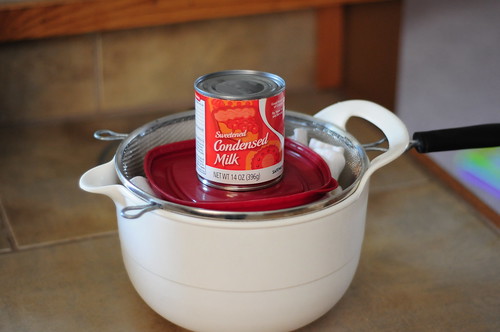
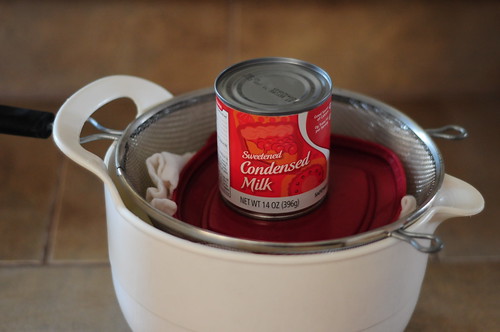
and a can of sweetened condensed milk on top of that. The weight helps to speed up the straining/draining process. Sweetened condensed milk is great because it’s heavy, but not tall, so I can still slide the whole thing back into the fridge without any problems.
Leave it for a couple/few hours depending on how “dry” you want it to get. That’s the only difference between the “greek” yogurt and yo-cheese is how long you let it strain. I usually leave a whole batch in for a couple of hours to get it greek-y, and a little longer to achieve the cream-cheese-y consistency for yo-cheese.
Notice how much the lid/can has sunk.
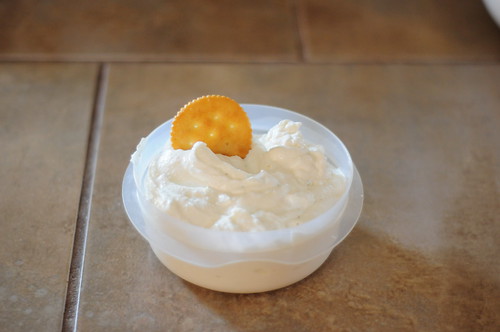
Yo-cheese!! (or greek yogurt)
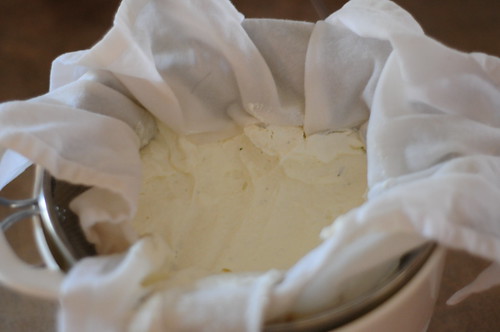
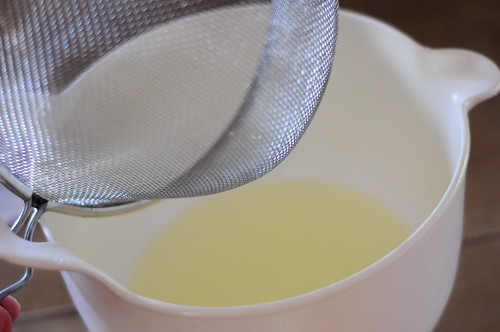
Then the messy part. I use a rubber spatula to scrape the yogurt out of the cloth into a container. I couldn’t take a photo of me doing that, so you’ll have to use your imagination. 😉 I rinse out the cloth in HOT water and then just wash it with the rest of my dish towels.
The whey can be used as a very high protein liquid substitute in baking!! You can also add it to smoothies and such for extra protein. However, I wouldn’t if you flavor your yogurt. Onion could SO throw off the groove of a berry smoothie. 😉
Ta-da! This stuff is great on ritz crackers! 😉 And my Hurb likes it because it “scoops” easier than regular soft cream cheese. This batch could have strained for a leeeetle bit longer, but I was impatient to get the pictures and the blog done. 😉 Can’t wait to surprise Stuart with a yo-cheese snack this afternoon!
Enjoy!